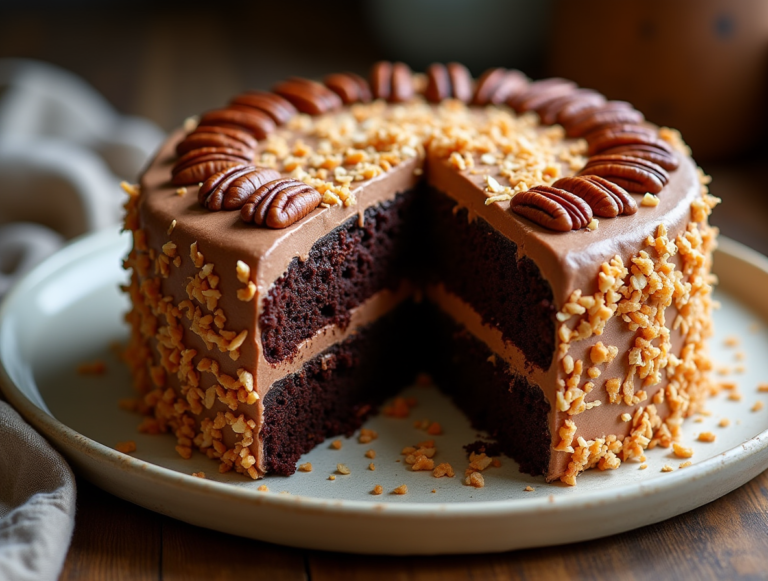
Bake an 18th Century Queen’s Cake
Imagine walking into a Georgian kitchen. The smell of an 18th-century queen’s cake fills the air. It’s a journey back in time, filled with historical elegance.
This royal confection has been passed down for centuries. It’s not just a dessert. It’s a time capsule waiting for you to unlock it in your kitchen.
The queen’s cake recipe comes from Robert Smith’s 1724 cookbook “Court Cookery.” It connects you to the royal kitchens of Britain. Each ingredient and measurement tells a story of culinary craftsmanship that has lasted through generations.
Baking this queen’s cake is more than following a recipe. It’s about bringing a piece of history to life. You’ll turn simple ingredients into a masterpiece fit for 18th-century nobility.
Table of Contents
The Royal Origins of Queen’s Cake
Explore the world of antique desserts from the lavish British royal courts of the early 18th century. The Queen’s Cake is a tasty piece of history. It shows the rich culinary traditions of European nobility.
The royal kitchens of Britain were more than cooking spaces. They were places where food innovation thrived. Queens like Mary and Anne were key in shaping the food scene of their time.
Early Court Culinary Influences
Royal courts set trends in food in the early 18th century. The Queen’s Cake was a sophisticated dessert. It showed the social status and refined tastes of nobility.
- Developed in royal kitchens
- Symbolized culinary sophistication
- Represented social hierarchy through dessert
Connections to British Monarchy
The cake’s history links to specific monarchs who shaped culinary arts. Some believe these cakes honored Queens Mary (1689–1694) and Anne (1702–1714). They were known for supporting culinary excellence.
| Queen | Reign Period | Culinary Contribution |
|---|---|---|
| Queen Mary | 1689-1694 | Introduced sophisticated baking techniques |
| Queen Anne | 1702-1714 | Promoted elaborate dessert presentations |
Evolution from Traditional Pound Cake
The Queen’s Cake evolved from a dense pound cake to a lighter dessert. Bakers experimented with ingredients. They created lighter textures that matched the changing tastes of the aristocracy.
“A cake is a reflection of its time – intricate, layered, and full of subtle sophistication.” – Royal Pastry Chef
Essential Ingredients for 18th Century Queen’s Cake Recipe
Exploring the right ingredients for a true Queen’s Cake takes us back to the 18th century. The first mention of it was in 1724 in “Court Cookery” by Robert Smith. This recipe has a rich history.
The ingredients for a classic Queen’s Cake show the luxury of Georgian royal kitchens. You’ll pick top-quality items to bring history to life in your kitchen.
Key Ingredients Breakdown
- Flour: All-purpose flour (1 cup or 120g)
- Sugar: Granulated sugar (½ cup or 100g)
- Butter: Unsalted butter (½ cup or 115g)
- Eggs: Fresh, room temperature
- Dried Fruits: Currants or raisins
Spices are key to the cake’s unique taste. Traditional ingredients include:
- Nutmeg
- Mace
- Cinnamon
“A true Queen’s Cake is a testament to the refined culinary arts of 18th-century English nobility.” – Culinary Historians
For those wanting to make a real Queen’s Cake, here are some tips:
- Choose fresh, top-quality ingredients
- Use whole spices when you can
- Pick organic butter and eggs
- Find artisanal dried fruits
| Ingredient | Quantity | Period Significance |
|---|---|---|
| All-Purpose Flour | 1 cup (120g) | Primary structural ingredient |
| Granulated Sugar | ½ cup (100g) | Symbol of luxury |
| Unsalted Butter | ½ cup (115g) | Rich, creamy texture |
| Currants | ¼ cup | Traditional fruity element |
Your Queen’s Cake will be more than a dessert. It will be a delicious link to 18th-century baking traditions.
Traditional Baking Equipment and Methods
Exploring historical baking shows us a detailed world of old culinary ways. Making Queen’s Cakes needs us to know the special tools and methods of the 18th century.
Authentic Historical Baking Tools
In the 18th century, bakers used precise, often handmade tools for their pastries. Their tools included:
- Copper mixing bowls
- Wooden spoons with long handles
- Hand-beaten whisks made from wire
- Clay or ceramic baking molds
- Brass measuring cups
Modern Kitchen Adaptations
Getting historical baking tools can be hard, but modern tools can mimic old techniques. Silicon spatulas, stainless steel bowls, and digital scales keep historical baking true.
Selecting the Perfect Baking Tin
Finding the right baking tin is key in historical baking. Traditional Queen’s Cakes were baked in little fluted tin moulds with fancy shapes. Now, mini-muffin pans with paper cups are a good substitute.
| Historical Tool | Modern Equivalent |
|---|---|
| Copper Mixing Bowl | Stainless Steel Mixing Bowl |
| Clay Baking Mold | Non-stick Aluminum Pan |
| Hand Whisk | Electric Hand Mixer |
| Brass Measuring Cup | Digital Kitchen Scale |
“Baking is a language of love, passed down through generations of culinary tradition.”
Understanding Period Spices and Flavorings
Exploring historical food anthropology shows us the world of 18th-century spice selection for Queen’s Cakes. It was an art that turned simple baked goods into culinary wonders.
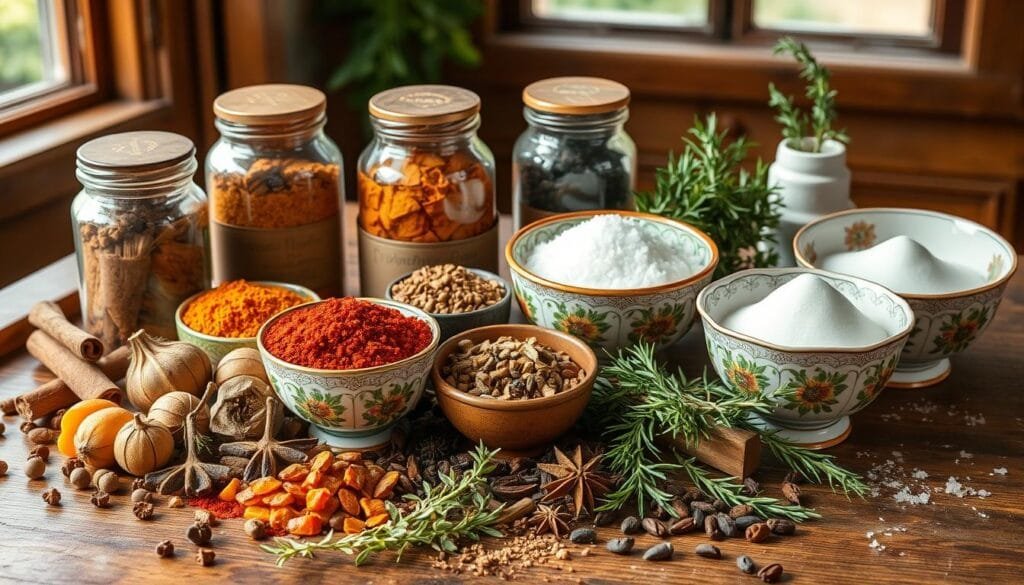
Georgian era bakers chose spices to make their royal desserts stand out. Your journey into historical baking starts with learning about the key flavors of these treats.
- Nutmeg: A prized spice from exotic places
- Mace: The delicate outer covering of the nutmeg kernel
- Cinnamon: Adds warmth and depth to the cake’s flavor
- Currants: Adds texture and natural sweetness
“Spices were more than ingredients—they were a statement of wealth and worldly connections.” – Culinary Historians
Getting authentic spices back then needed a big trade network. Merchants brought rare spices from far-off colonies, making each spice very valuable.
| Spice | Origin | Flavor Profile | Culinary Significance |
|---|---|---|---|
| Nutmeg | Indonesian Spice Islands | Warm, slightly sweet | Luxury ingredient in royal kitchens |
| Mace | Same as Nutmeg | Delicate, slightly pepper-like | Refined seasoning for elite desserts |
| Cinnamon | Ceylon (Modern Sri Lanka) | Sweet, warming | Versatile spice in baking |
Today’s bakers can make these historical flavors by picking high-quality spices. They need to understand how to balance them. Your Queen’s Cake will take you back to the elegant Georgian era.
Step-by-Step Preparation Process
Learning to make an authentic 18th century queen’s cake is a journey. It needs precision and traditional baking methods. These methods have been kept alive for generations.
Preparing the Batter
Your baking adventure starts with a smooth batter. Begin by getting your ingredients ready at room temperature. This helps with mixing.
- Cream unsalted butter and granulated sugar until light and fluffy
- Whisk 5 large eggs carefully, aiming for a doubled volume
- Sift self-rising flour to prevent lumps in the mixture
Proper Mixing Techniques
Historical baking uses special mixing methods. These methods help create a light, airy cake. Gently fold ingredients to keep air bubbles intact.
*The key to a perfect 18th century queen’s cake lies in the gentle incorporation of ingredients*
Incorporating Dried Fruits
Traditional queen’s cakes include special dried fruits. To prepare your fruits, do the following:
- Chopping dried fruits into uniform small pieces
- Coating fruits lightly in flour to prevent sinking
- Folding fruits gently into the batter
| Baking Detail | Specification |
|---|---|
| Baking Temperature | 350°F (180°C) |
| Baking Time | 22-26 minutes |
| Batter Quantity | 30 ounces total |
Preheat your oven for 10-15 minutes before baking. Let the cake rest in the pan for at least 10 minutes after baking. Your 18th century queen’s cake will serve 8-10 people, ideal for an elegant afternoon tea.
Mastering Historical Baking Temperatures and Times
Historical baking is all about precision and understanding. When making your 18th-century Queen’s Cake, controlling the temperature is key. Modern ovens are different from the wood-fired hearths of old, so you need to adjust your baking methods.
To get the perfect Queen’s Cake, watch the baking time closely. Here’s what you should aim for:
- Preheat to about 350°F (175°C)
- Bake for 12-14 minutes
- Use a wooden skewer to check if it’s done
Visual signs are important in historical baking. Look for these to know your Queen’s Cake is ready:
- It should have a golden-brown color
- The edges should be slightly pulled away from the pan
- It should feel springy when touched lightly
“Precision in historical baking is an art form that bridges centuries of culinary craftsmanship.” – Culinary Historian
| Baking Characteristic | 18th Century Method | Modern Adaptation |
|---|---|---|
| Oven Temperature | Wood-fired hearth | Controlled electric/gas oven |
| Temperature Monitoring | Hand test | Digital thermometer |
| Baking Time | Estimated by experience | Precise timer and visual cues |
Mastering historical baking takes patience and practice. Each try brings you closer to mastering the art of vintage baking.
The Art of Historical Recipe Adaptation
Exploring historical food anthropology is a skillful journey. It involves turning old dessert recipes into something new for today’s kitchens. You’ll need both precision and creativity to dive into 18th-century baking.
Bringing old recipes to life means facing unique challenges. Bakers must deal with old measurement systems and ingredient changes. Yet, they must keep the heart of these historical recipes alive.
Converting Historical Measurements
Old measurement systems are far from today’s. You’ll learn to convert these techniques:
- Translate archaic volume measurements
- Convert weight calculations
- Understand regional measurement variations
Modern Kitchen Equivalents
Adapting old dessert recipes means finding new ingredients. Here are some modern options:
| Historical Ingredient | Modern Substitute |
|---|---|
| Buttermilk from butter churning | Store-bought cultured buttermilk |
| Wood-fired oven | Conventional electric oven |
| Hand-ground flour | Commercial refined flour |
Maintaining Authenticity
When updating recipes, keep their true spirit alive. Choose ingredients that match the originals as closely as possible. Stick to traditional cooking methods.
“Cooking is about preserving culinary memories, not just creating meals” – Culinary Historian
Your dedication to authenticity turns recipe adaptation into a delicious historical journey.
Serving and Presentation in Georgian Style
Presenting your Queen’s Cake is more than just baking. It’s about bringing a vintage tradition to life. This approach turns a simple dessert into a sophisticated treat.
When serving this traditional English teatime fare, consider these essential presentation elements:
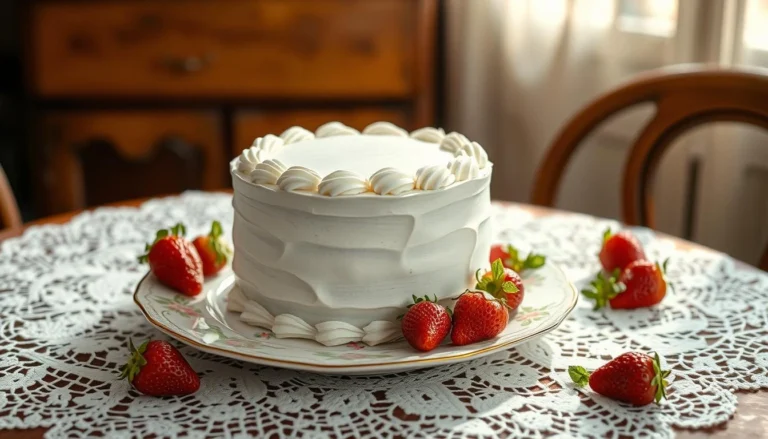
- Use fine bone china with delicate floral patterns
- Select ornate silver cake stands
- Arrange cakes on embroidered linen doilies
- Serve with exquisite black or green tea
The 18th century made tea service an art. Your Queen’s Cake should be cut into elegant triangular slices. These slices should highlight the cake’s texture and fruit.
“A properly served cake is a reflection of one’s refinement and social standing.” – Georgian Era Etiquette Manual
Make your guests feel like they’re in 18th-century England. Paying attention to these historical details shows your dedication. Your guests will thank you for the effort.
| Serving Element | Georgian Era Recommendation |
|---|---|
| Tableware | Porcelain with gold trim |
| Cutlery | Sterling silver cake forks |
| Beverages | Imported Darjeeling or Ceylon tea |
| Accompaniments | Clotted cream, fruit preserves |
Remember, presentation makes a Queen’s Cake more than just a dessert. It’s a journey back to 18th-century England’s elegant drawing rooms.
Common Challenges and Troubleshooting Tips
Trying to make an 18th century queen’s cake can be tough for today’s bakers. It needs patience and special techniques that are different from modern baking.
When you try this old baking method, you might face some problems. Knowing these can help you make a better and tastier queen’s cake.
- Ingredient Measurement Accuracy: Precise measurements were less standardized in the 18th century
- Oven Temperature Variations: Historical ovens lacked precise temperature controls
- Ingredient Quality and Availability: Some original ingredients might be difficult to source
- Texture and Rising Consistency: Different flour types can dramatically change cake structure
To succeed with your 18th century queen’s cake recipe, try these tips:
| Challenge | Solution |
|---|---|
| Uneven Rising | Use fresh leavening agents and sift ingredients thoroughly |
| Dense Texture | Cream butter and sugar longer, incorporate air carefully |
| Dry Cake | Monitor baking time closely, use vegetable oil for moisture |
Remember, historical baking is an art that takes practice and patience. Every try gets you closer to mastering the 18th century queen’s cake.
“Baking is a journey of discovery, especially when exploring recipes from centuries past.” – Anonymous Historical Baker
By knowing the common problems and adjusting your methods, you can turn challenges into chances to improve your baking skills.
Conclusion
Your journey into the 18th-century Queen’s Cake is more than a food adventure. It’s a deep dive into the history of food. By making this royal treat, you’ve connected with centuries of baking traditions.
This baking journey is more than just mixing ingredients. It’s a link to the kitchens of Georgian England. Skilled cooks like Edward Kidder taught many, showing the importance of food education back then.
When you share Queen’s Cake with loved ones, you’re keeping history alive. Each slice shares stories of innovation and tradition. Your kitchen becomes a place where history and food meet.
Every time you make this recipe, you keep a tradition alive. The Queen’s Cake is a sweet reminder of our culinary heritage. It inspires both home bakers and food historians.
FAQ
What makes an 18th-century Queen’s Cake different from modern cakes?
How difficult is it to source authentic 18th-century ingredients?
Can I make a Queen’s Cake if I’m not an experienced baker?
What type of baking equipment do I need to make an authentic Queen’s Cake?
How long does a Queen’s Cake typically keep?
Are there variations of the Queen’s Cake from different regions?
Can I adapt the recipe for modern dietary restrictions?
What makes these cakes specifically “royal”?
Did you try this Recipe?
There are no reviews yet. Be the first one to write one.


